

Easy Science Fair Project Template
Автор: Joseph Kirby 22.05.2022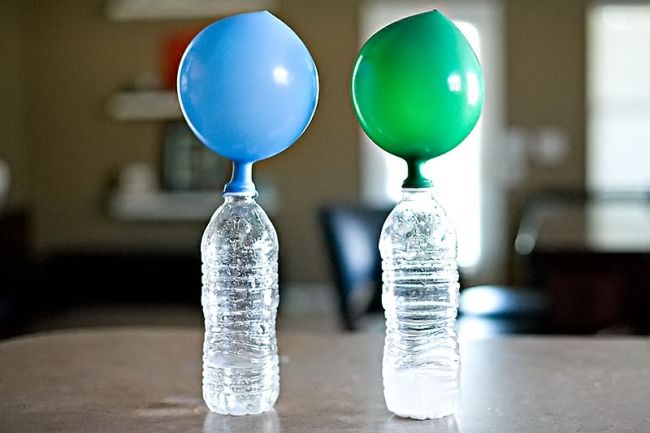
Simple, Easy to Follow Outline for a Science Project for Any Grade
This article explains all the elements of a science fair project. Students and teachers will find this template useful in simplifying the task of preparing a project.
Following this template will ensure a clear, concise, well written science project that should be mounted on tri-fold poster board. Earn a good grade on your project by including the necessary elements of a science project and making an impressive display board. For topic ideas read Science Fair Project Ideas – Mold and Spoiled Food.
How to Make a Science Fair Project
Each Science Fair has particular rules and regulations that must be followed regarding content and style, however, most projects need to contain the following elements.
- Title
- Purpose/Question
- Hypothesis
- Abstract/Background
- Materials
- Procedure
- Results/Data
- Conclusion
- Bibliography
The Scientific Write Up of a Science Project

Purpose/Question – The title of the Science Fair project is often (but doesn't have to be) the purpose or question that the project seeks to answer. For example, Do Ethylene Produce-Bags Increase the Life of Vegetables? could be the title and purpose of a project or it may just be the purpose and the title could be Rotting Food.
Hypothesis – The hypothesis of a project is an informed guess about the results of an experiment. After doing some research, a student will have a good idea of what will happen in the experiment. The wording of the hypothesis is quite standard and is worded If_________________(something is done), then, _______________will happen. The statement must be testable, with something that can be measured, for example, in time, distance or voltage. An example of a hypothesis is, If broccoli in stored in ethylene produce bags, then the broccoli will take longer to spoil. Design an experiment that will test the hypothesis.
Abstract/Background – Projects for senior grades and competitions may require an abstract and the fair organizers will state rules and guidelines. For grades 3 to 7, many teachers prefer a background, which will provide science information that helps understand the science behind the experiment. In the case of the produce bags, the background may explain how produce bags work or what type of gas is emitted from vegetables.
Materials – When recording the materials for the experiment, this should be done in a list format. Be specific with quantities, lengths and brand names. 100 ml of tap water is better than water. Similarly, 8 oz bottle of 7-9-5 Liquid Bloom organic fertilizer is preferable to simply fertilizer.
Procedure – The procedure or method is step by step instructions for doing the experiment. It should read like a recipe and be easy to follow. Explain how the first part of the hypothesis was changed. In the broccoli experiment, explain that one bunch of broccoli is placed it in the vegetable drawer of the refrigerator and then another bunch of broccoli purchased on the same day, from the same grocery store is placed it in an XYZ brand ethylene absorbing produce bag.
Finally, explain how the second part of the hypothesis is tested. Again, for the broccoli experiment, explain how the length of time until decay will be measured, perhaps, photos and observations will be taken daily or decay will be measured by number of days until the broccoli turns yellow.
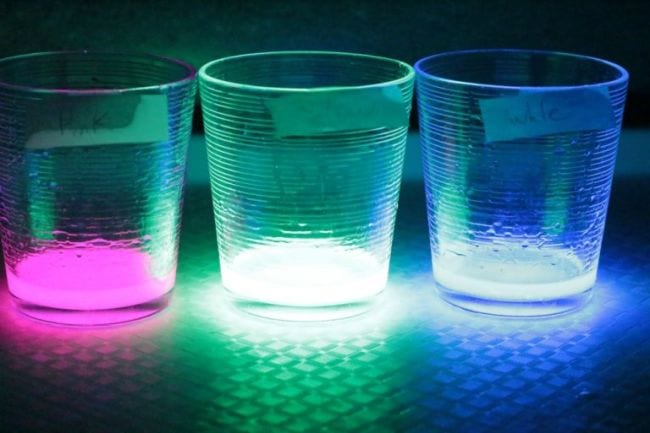
Results – The results from the experiment can be displayed by making charts, graphs or taking photos. Remember to ensure that the results are something that can be measured. Charts and graphs need to be labeled completely and accurately with all information including titles.
Conclusion – The conclusion states whether the hypothesis is true or not. This is also where some discussion about results can be written. The author might state what they would do differently if they were to repeat the experiment.
Bibliography – List the books and sources where information was found. Include author, title, date, page and web address if applicable. They are generally listed alphabetically by author.
Making Science Fair Display Boards
The display board is the first impression an audience gets of the project. The overall appearance is what attracts people. The title should be bright and large enough to read from across the room. The project should read, top to bottom and left to right, like a book. Use colored paper to back the information. Vivid pictures, as well as, colored charts and graphs enhance a project. Ensure that everything has been cut and glued in a neat manner.
With this template, students will have the required information needed for a good Science Fair project. Doing well on a Science Fair project can be easy but remember to take all Science Fair and teacher rules and guidelines into account.


